How to Convert a Photo to PDF on iPhone
Three ways to do it — a one-tap built-in method, a multi-photo workflow, and a way to make the PDF actually searchable. None of them require uploading anything to iLovePDF, Smallpdf, or any other web tool.
Method 1: One photo, one PDF (built-in, 30 seconds)
If you just need to turn a single picture into a PDF — a screenshot of a receipt, a photo of an invoice, an ID card — you don't need an app. iOS has had this built in since iOS 13.
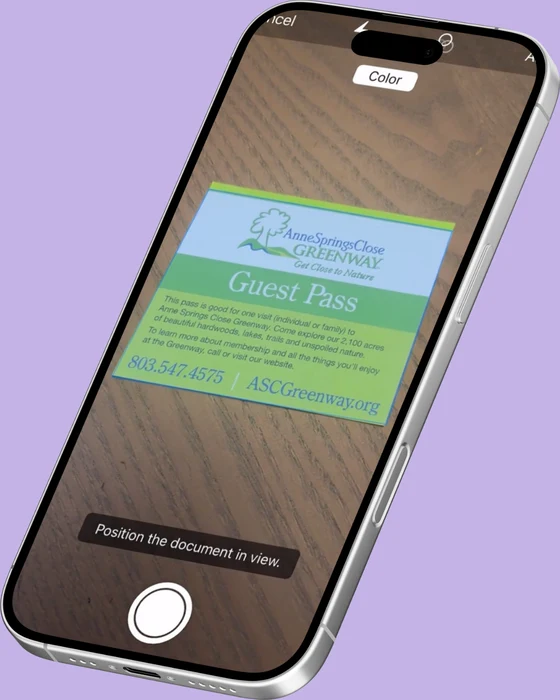
- Open the Photos app and find your image.
- Tap the share button (the square with an up arrow).
- Scroll down the share sheet and tap Print.
- On the print preview screen, pinch outward with two fingers on the image. iOS converts it to a PDF.
- Tap the share button again to save it to Files, send it via email, or move it into a Notes attachment.
This is the iOS trick most people don't know. It works because the print preview is technically a PDF — the pinch-to-zoom gesture is just telling iOS to surface it. No third-party tools, no cloud upload, no account.
Even faster
In iOS 16+ you can also long-press an image in the Files app and tap "Create PDF." That makes a PDF in the same folder instantly.
Method 2: Multiple photos → one PDF
The pinch trick only handles one photo. If you've got 8 pictures of a multi-page document and you want them merged into a single PDF, the built-in route gets clumsy fast — you end up with 8 separate PDFs you'd then have to combine somewhere else.
This is where a real scanner app pays off. Both the Files app (long-press multiple images → "Create PDF") and Notes (Files → Scan Documents) can stitch images together, but they don't crop, deskew, or enhance contrast. The output looks like photos pasted into a PDF, not like scans.
For multi-photo PDFs, the cleanest workflow is:
- Open Scaniva (or another scanner app with import-from-Photos support).
- Tap Import from Photos and select all the images for your document.
- The app auto-crops edges, straightens any tilt, and applies a document filter so they read like proper scans instead of phone snaps.
- Reorder pages if needed by dragging, then tap Export → PDF.
- Save to Files or share directly.
The "auto-crop and enhance" step is what separates a scanned PDF from a photo PDF. A photo PDF works for casual use; a scanned PDF is what you'd send to an accountant, an HR person, or a lawyer without apologizing first.
Method 3: Make the PDF searchable (OCR)
Both methods above produce a PDF — but it's an image PDF. The text inside the image isn't selectable, searchable, or copyable. For a receipt you're filing for two minutes, that's fine. For a tax document you might need to find again next April, it's a problem.
OCR (Optical Character Recognition) adds an invisible text layer over the image so the PDF behaves like a real document. You can ⌘F to find a word, copy-paste a quote, or feed it to anything that reads PDFs (accounting software, contract review tools, etc).
The built-in iOS methods don't do this. Photos, Files, Notes — none of them OCR. To get a searchable PDF you need an app that runs text recognition on the way through.
Free OCR option
Scaniva's free tier includes OCR in 2 languages of your choice (out of 15 available). For most users that's exactly enough — pick English plus whatever second language you actually deal with. The premium upgrade ($9.99 one-time) unlocks all 15.
Why not just use iLovePDF or Smallpdf?
You can. But there's a trade you might not be making consciously:
- Both services upload your image to their servers to convert it. Their privacy policies say files are deleted after a few hours; you're trusting that.
- Both have free-tier limits (file size caps, number of conversions per day) that push you toward a subscription.
- If you're on a flight, in a basement, or anywhere with patchy LTE, neither one works.
For a one-off photo, the cloud route is fine. For ID cards, tax forms, leases, medical bills, or anything else you'd rather not see in a data-breach disclosure email in 2027 — keep it local.
Compress the PDF after
A multi-photo PDF straight off an iPhone camera can easily be 15–25 MB, which gets rejected by some email providers and IRS upload forms. If your file is too big to attach, you don't need a different scanner — you need to compress what you've got.
iOS doesn't ship a built-in PDF compressor. Scaniva includes one that typically shaves 70–85% off file size while keeping the document readable. Open the document in Scaniva, tap Export → Compress, and save the smaller file.
Skip the cloud round-trip
Scaniva converts photos to PDF, runs OCR, merges, and compresses — all offline on your iPhone. Free to try, $9.99 one-time for unlimited.
Download on the App StoreFAQ
How do I convert a screenshot to PDF on iPhone?
Same as a photo. Open the screenshot in Photos, share → Print, pinch to zoom on the preview, then share the resulting PDF. Or save it to Files first and use the long-press → Create PDF shortcut.
Can I convert HEIC photos to PDF?
Yes. iOS converts HEIC to a standard image inside the PDF automatically — you don't have to convert HEIC to JPG first.
How do I add a password to the PDF?
The built-in iOS methods don't support PDF encryption. Scaniva can password-protect exports, as can Adobe Scan (with a subscription). For one-off password PDFs, Mail's built-in compose can also do it on macOS but not iOS.
What's the maximum number of photos in one PDF?
No hard cap, but practical limit is around 100 pages before the PDF gets unwieldy. For longer documents, split into chapters.
Does converting a photo to PDF reduce quality?
The PDF wraps the image at its original resolution. Quality only drops if you apply compression afterward, and even then iPhone-camera images can usually compress 70–80% before the text becomes hard to read.